
Getting started with Popp Farm
Create your workspace, connect your Bambu Lab account, invite your team and send your first plate.
-
Create your workspace
Pick a plan and a workspace name on the sign-up page. Your farm gets its own address, like yourfarm.cloud.poppspace.com, and you become its Owner.
-
Connect your Bambu Lab account
Open Settings and sign in to Bambu Lab once. Popp Farm reads your printers through Bambu Cloud, so there are no ports to open and nothing to install on the printers.
- Printers, AMS units and firmware appear on their own
- Two-step codes from Bambu are asked for on the same page
- Only people with the Settings right can connect or change the account
-
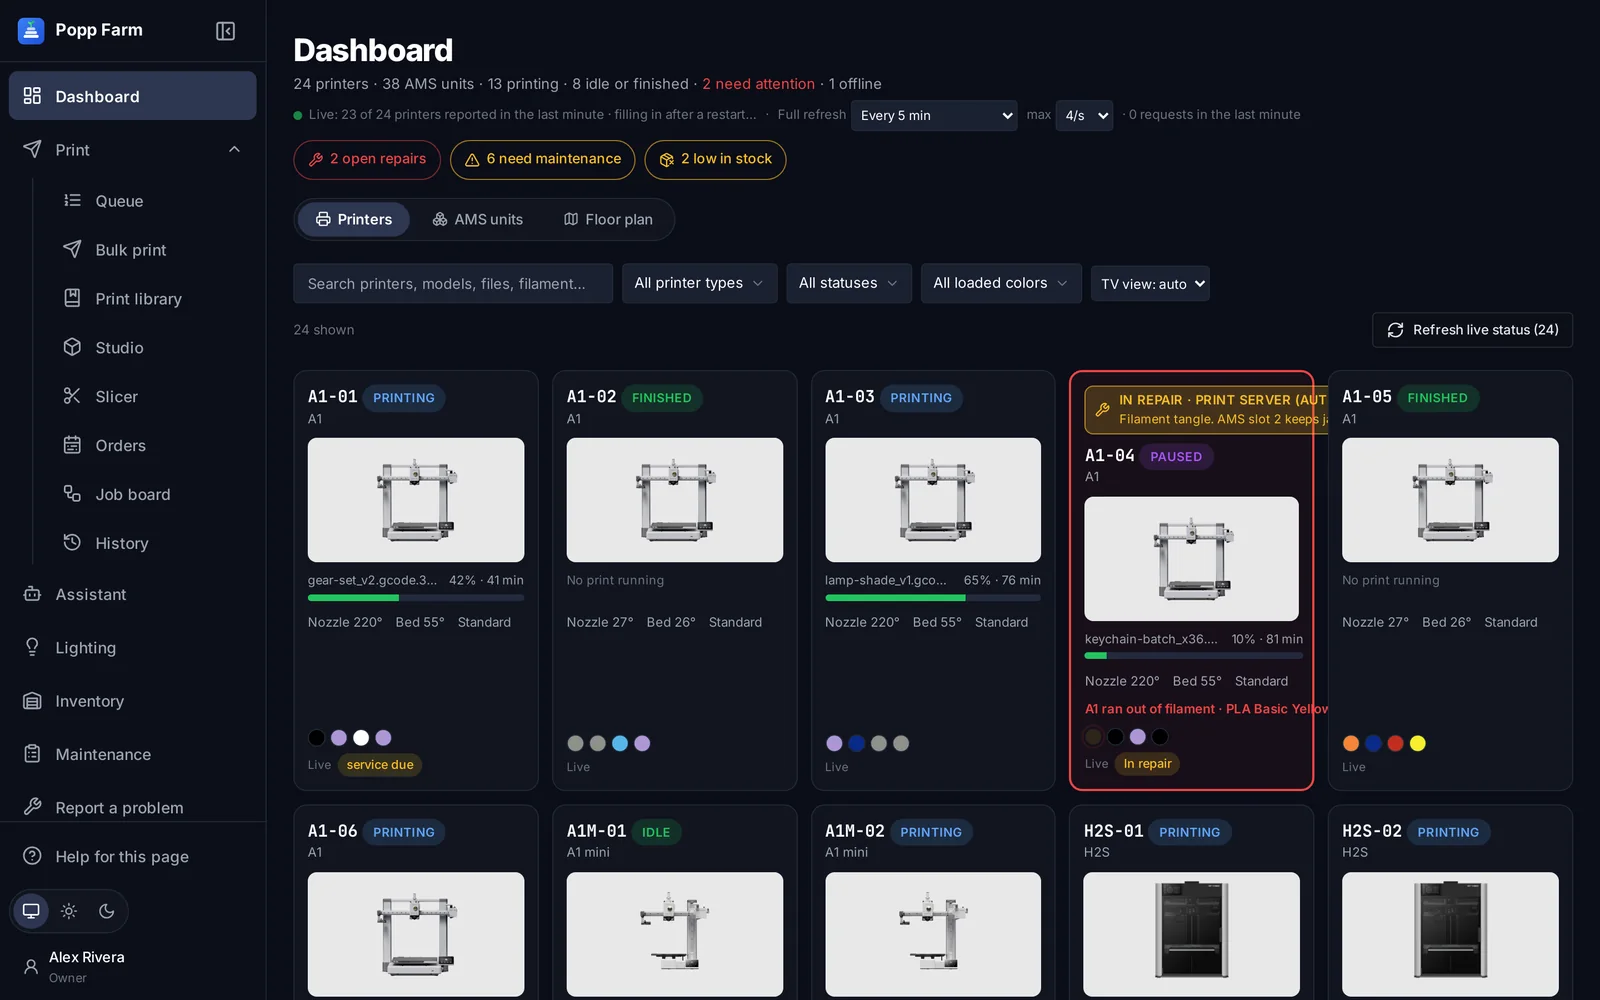
Check the dashboard
Every printer shows its state, progress, temperatures and the spool in each AMS slot. Printers that need a person — run-outs, errors, finished plates — float to the top.
-
Invite your team
Settings → Users. Give each person a role (Admin, Manager, Operator, Viewer) and add or remove single rights when someone needs something different.
-
Label the printers
Printers → QR codes prints a code for every printer. A scan with any phone opens that printer’s window, ready to mark the plate clear or report a problem.
-
Send your first plate
Print → Bulk print: upload a sliced file, a Bambu project or an STL, pick printers, run the check and press Send once you have confirmed the plates are clear.
Every screen in this guide has a full article in the Help centre inside Popp Farm.
More guides
Keep every printer busy with the Smart Queue
Add jobs once, let the queue match them to printers with the right colors, and send the next plate the moment one comes off.
Read →Multi-color printing across a mixed fleet
Color single parts in Studio, map every color to an AMS slot, and slice the same project for any Bambu Lab model.
Read →Plan a big order across the fleet
Turn an order with ship dates into a day-by-day printer plan, then feed the queue from it.
Read →Put your whole farm on one screen
Start free with up to 3 printers, or try any paid plan free for 14 days. Connect your Bambu Lab account and your printers appear in minutes.
No install · No LAN setup · Nothing prints until a person says the plate is clear